Creating a wallet on PowerHub
To create a wallet on PowerHub:
-
Go to PowerHub website.
-
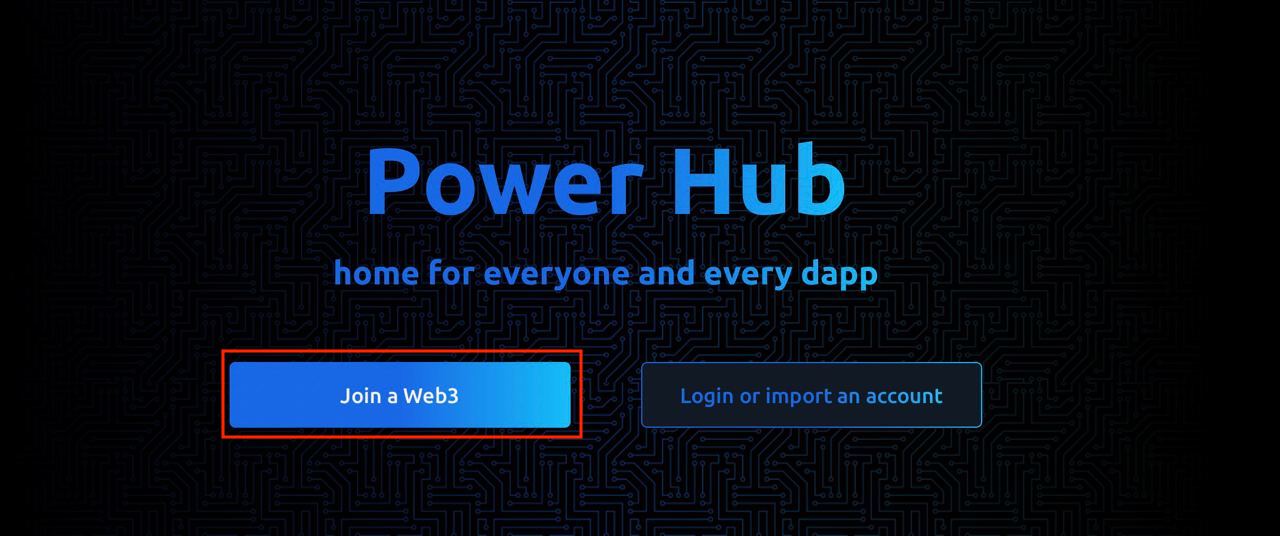
Click Join Web3 button:
-
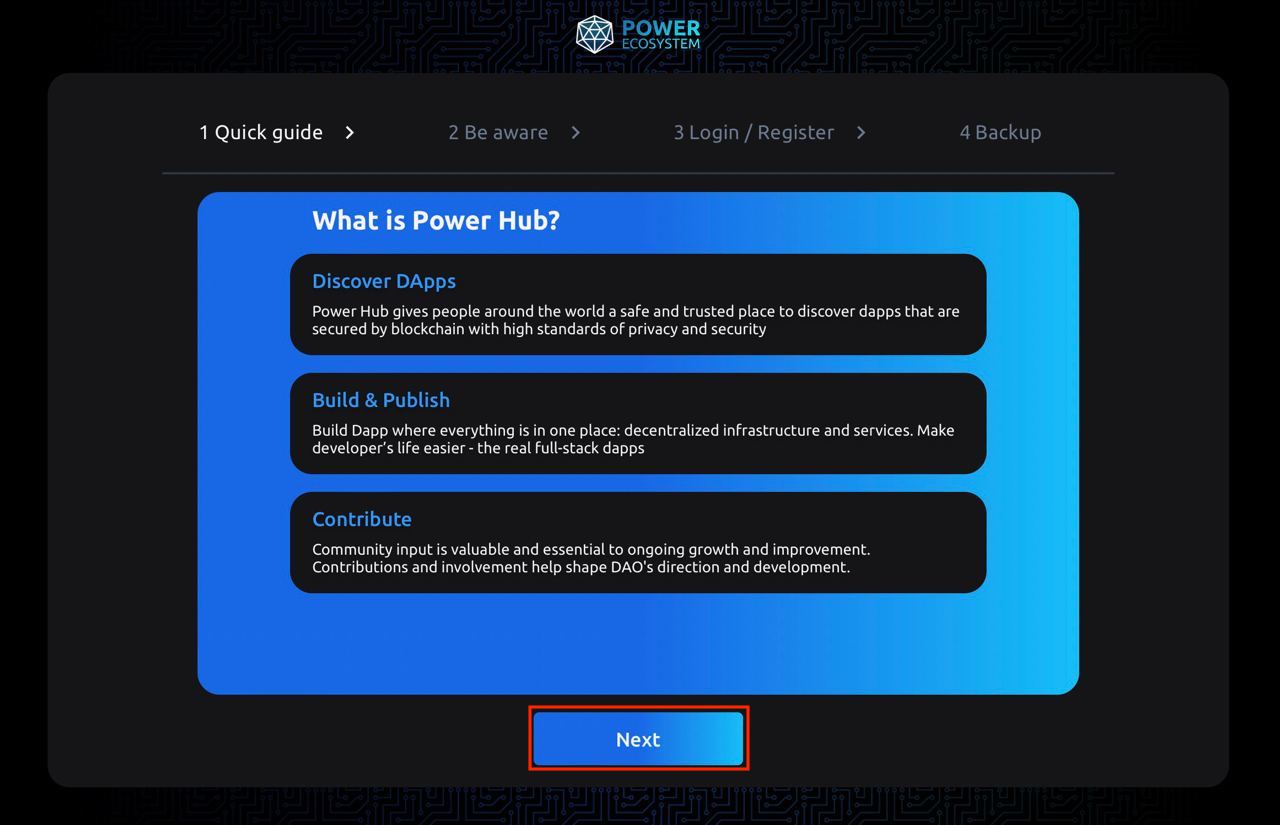
Carefully read the quick guide and click Next:
-
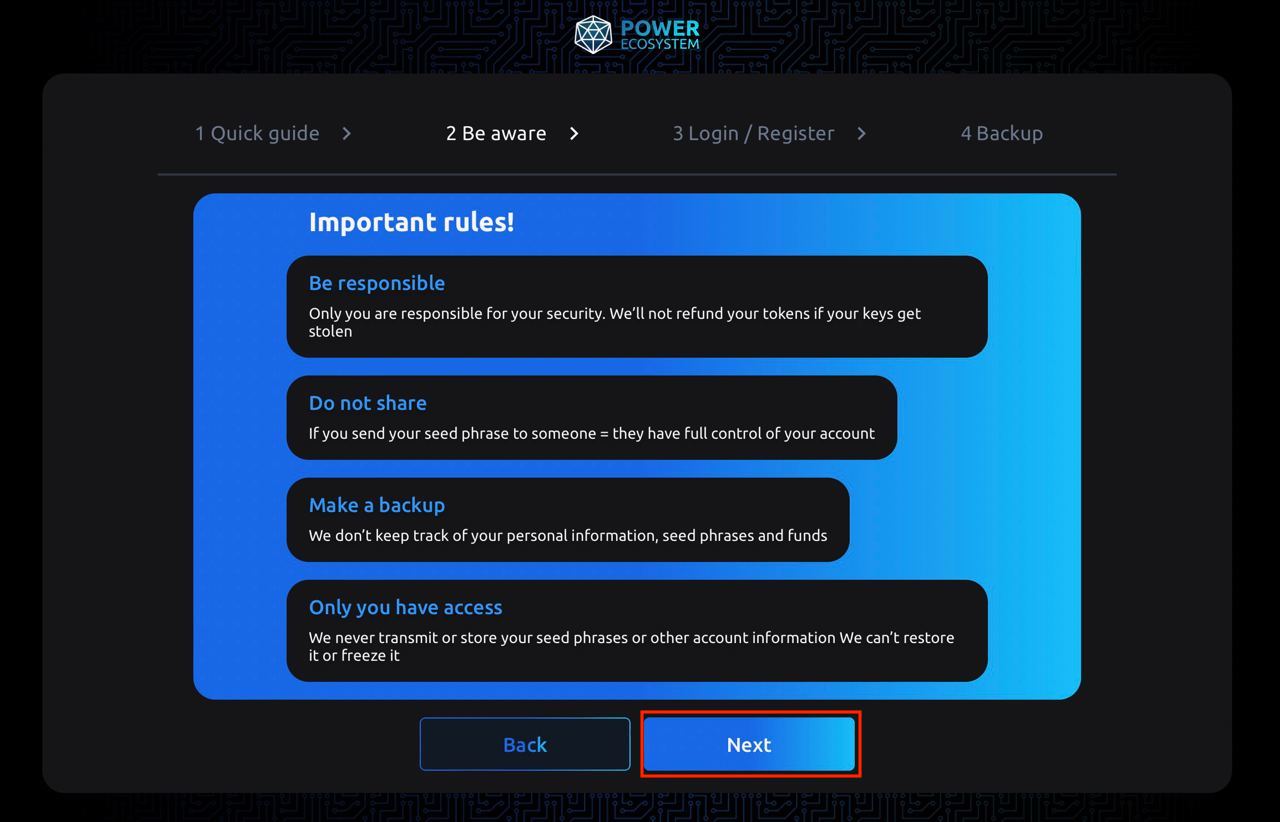
Carefully read the precautions and click Next:
-
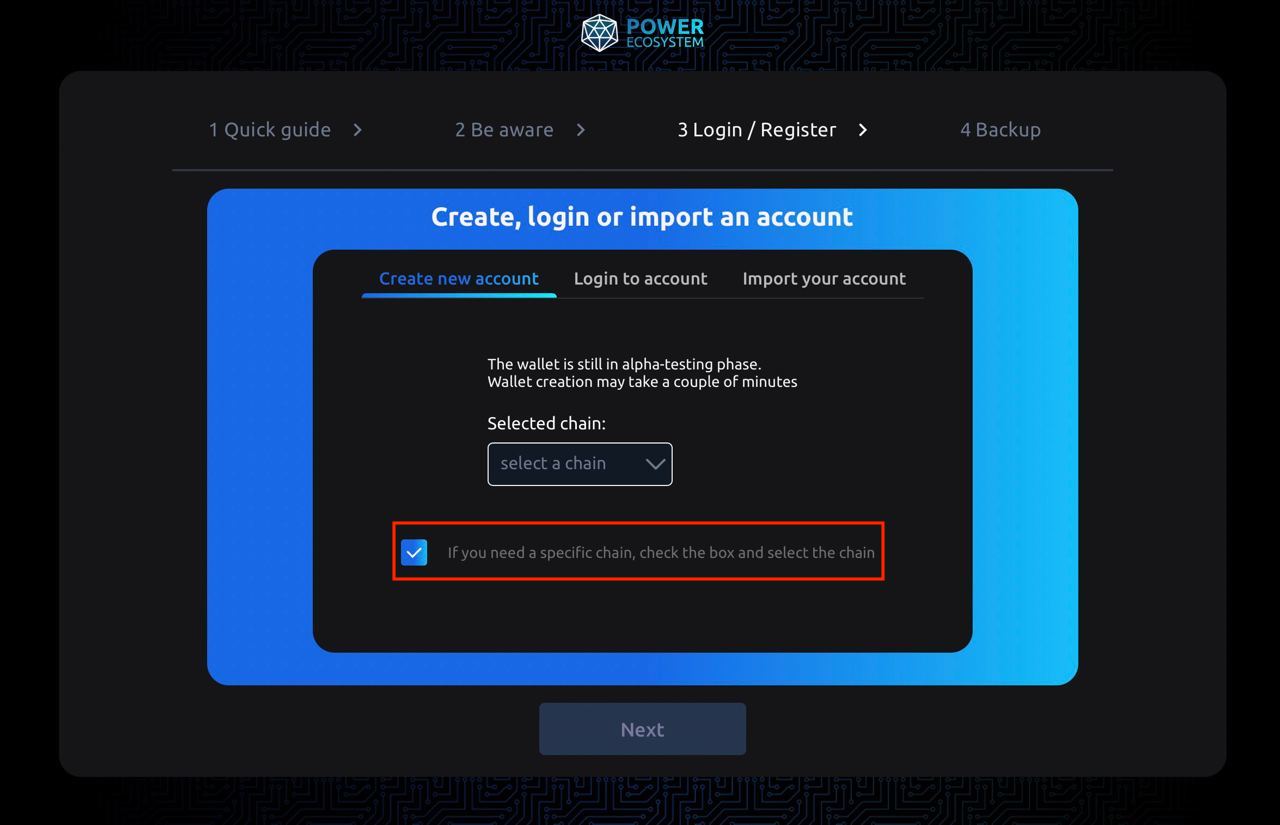
On the next step you have three following options:
- Create new account.
- Log into existing account.
- Import your account.
Create new account
To create new account:
AttentionFirst two steps are optional and only recommended for users, who understand the difference between the chains.
-
Tick the checkbox If you need a specific chain, check the box and select the chain. Otherwise, the wallet will be created in a random chain:
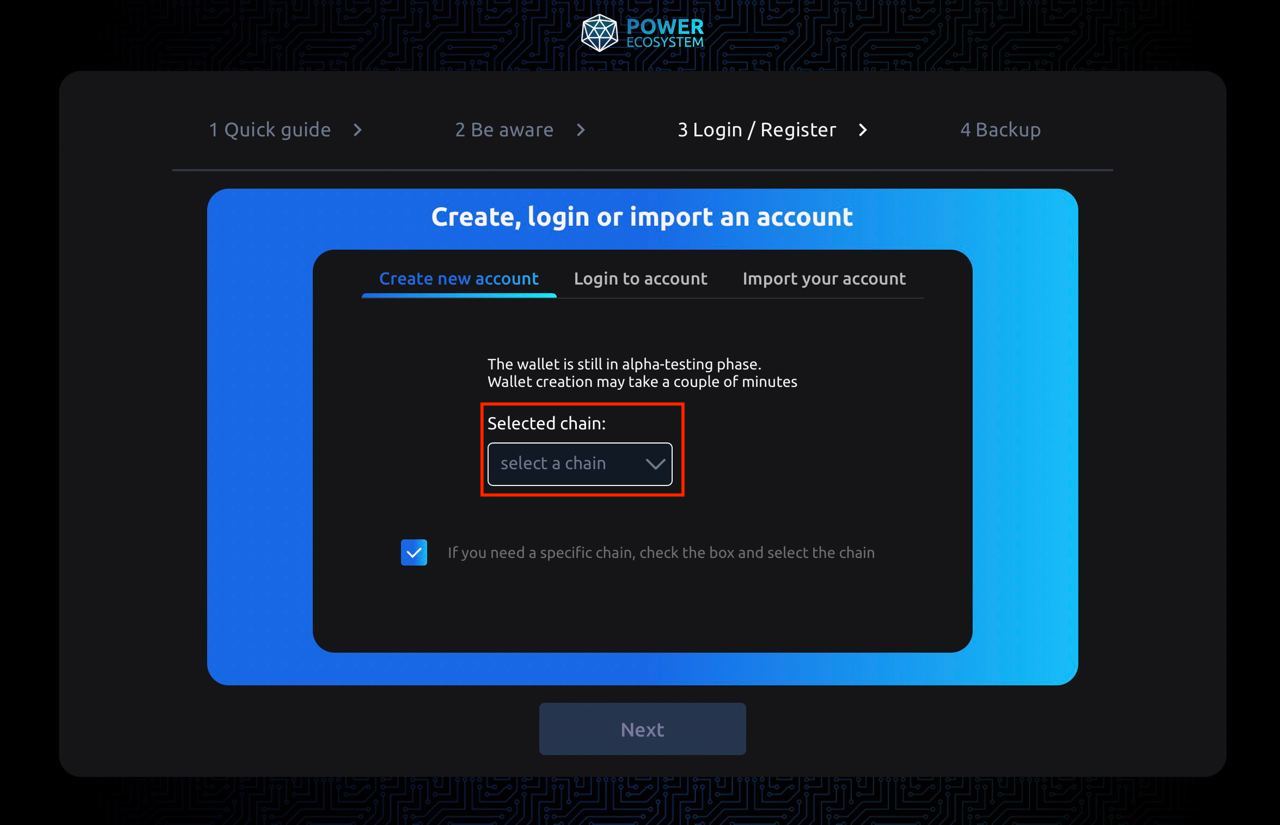
-
Select the chain you need from the dropdown list:
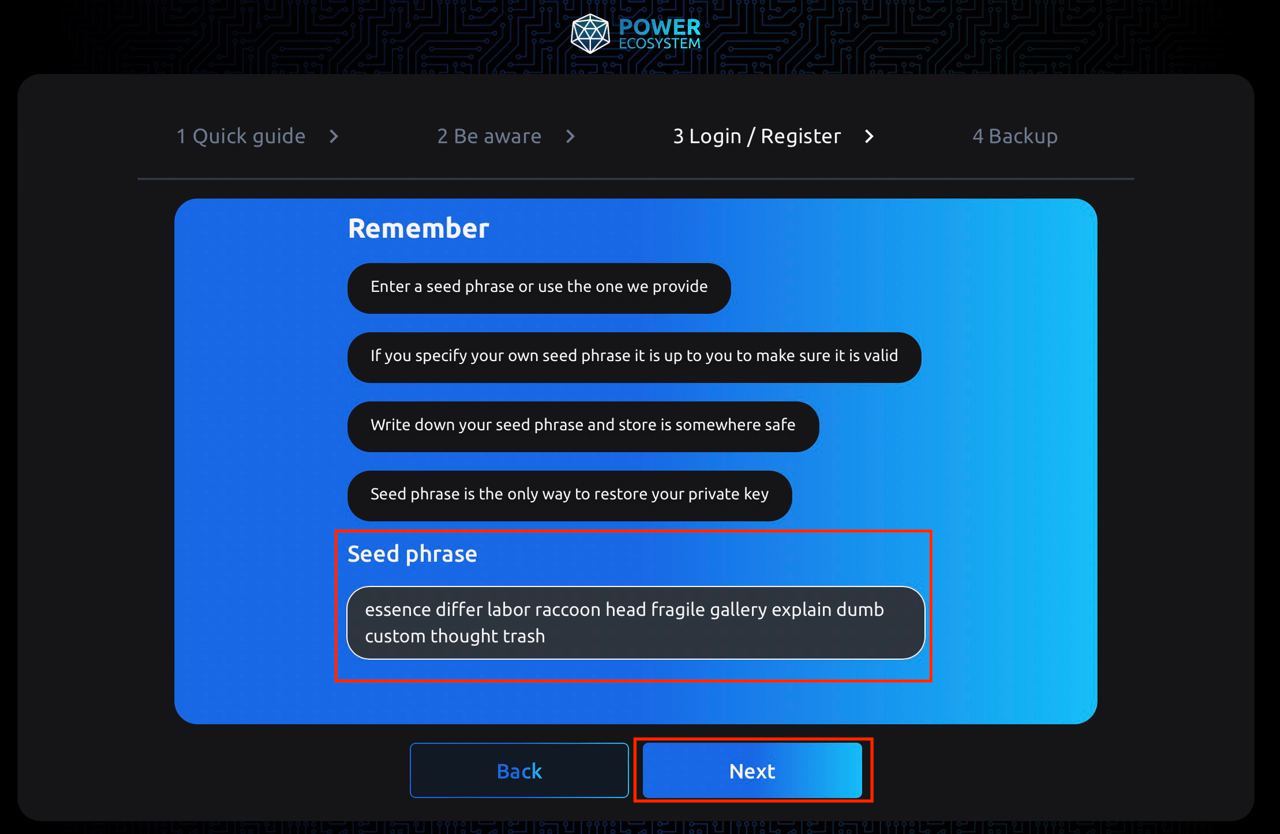
-
Read the precautions and set a seed phrase. Use can either use the provided seed phrase or set a custom one:
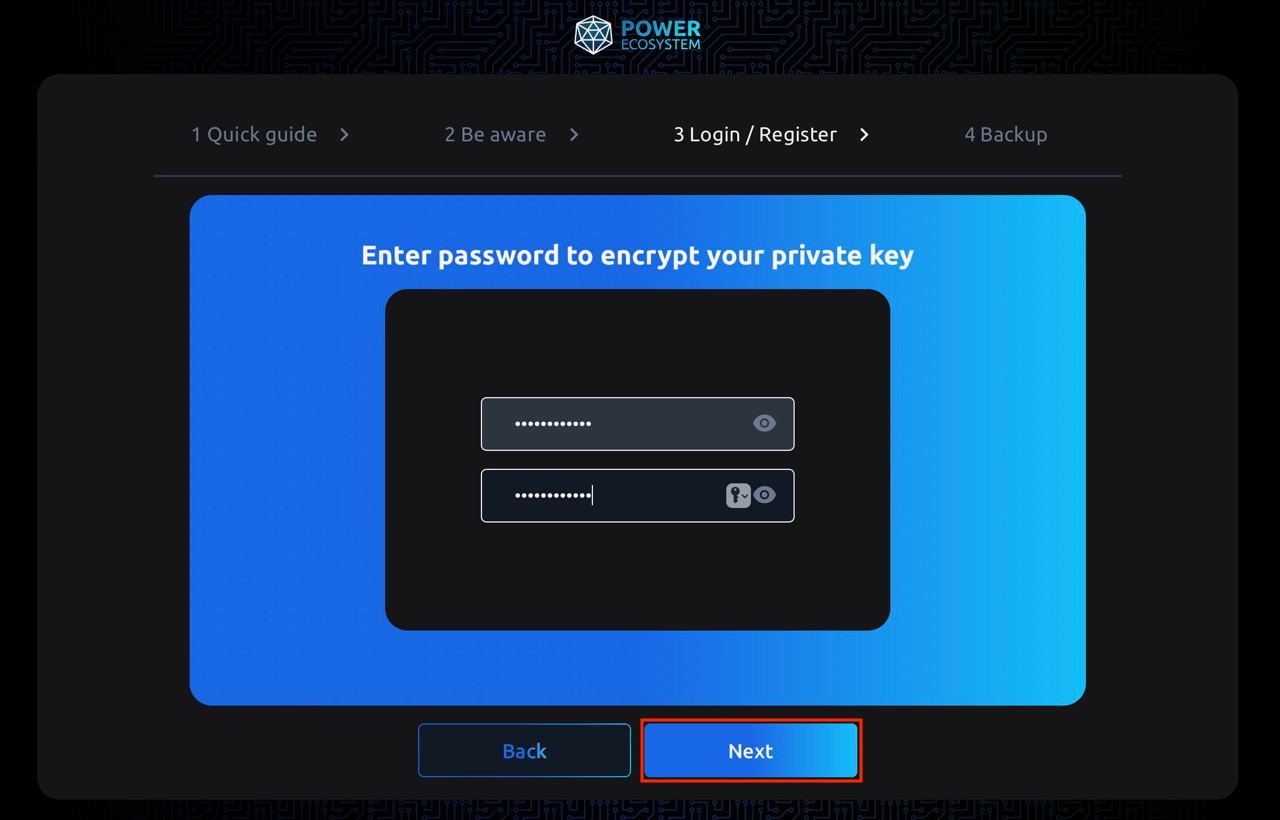
-
Set password and click Next:
-
Export your wallet data so that you may recover your wallet later. You can skip this step, but in this case you won't be able to restore your wallet:
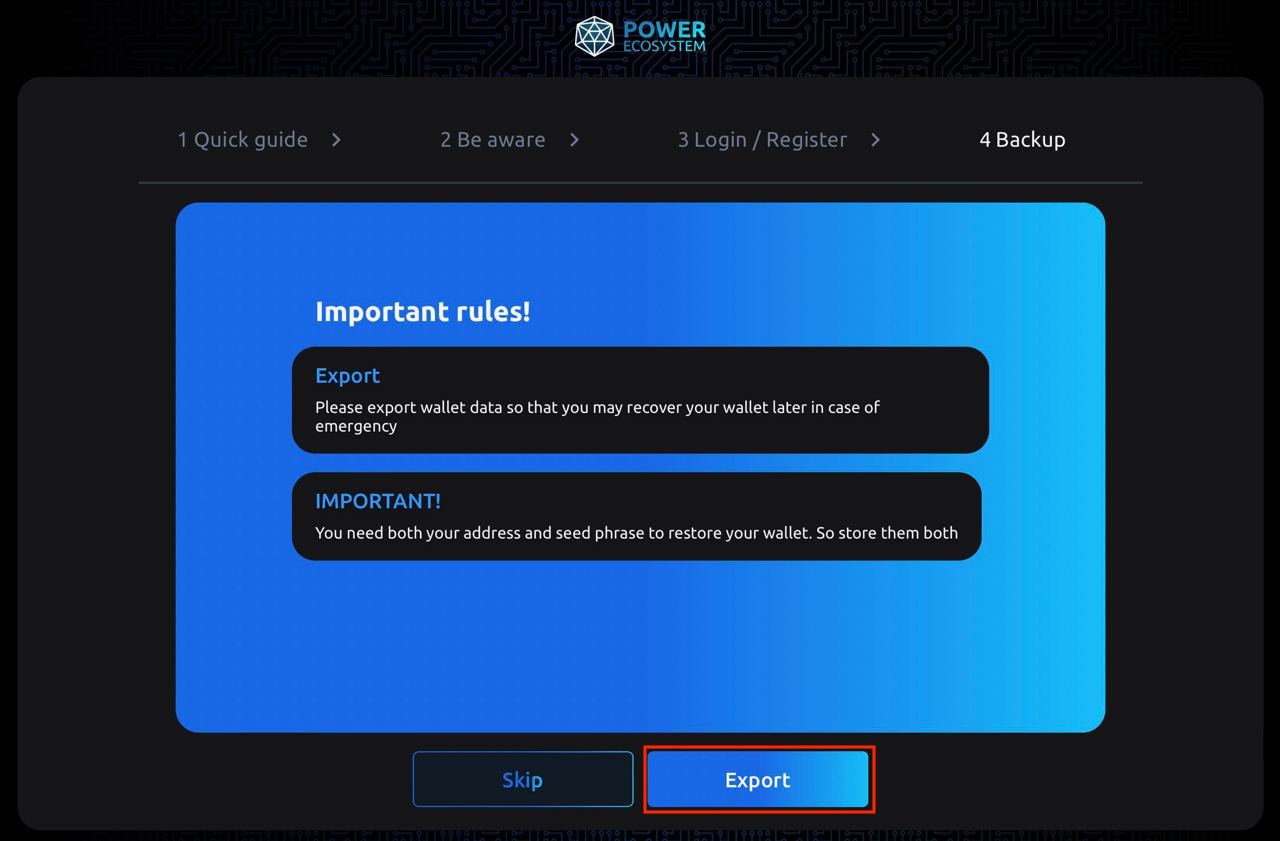
-
By clicking Export button you'll see the following window:
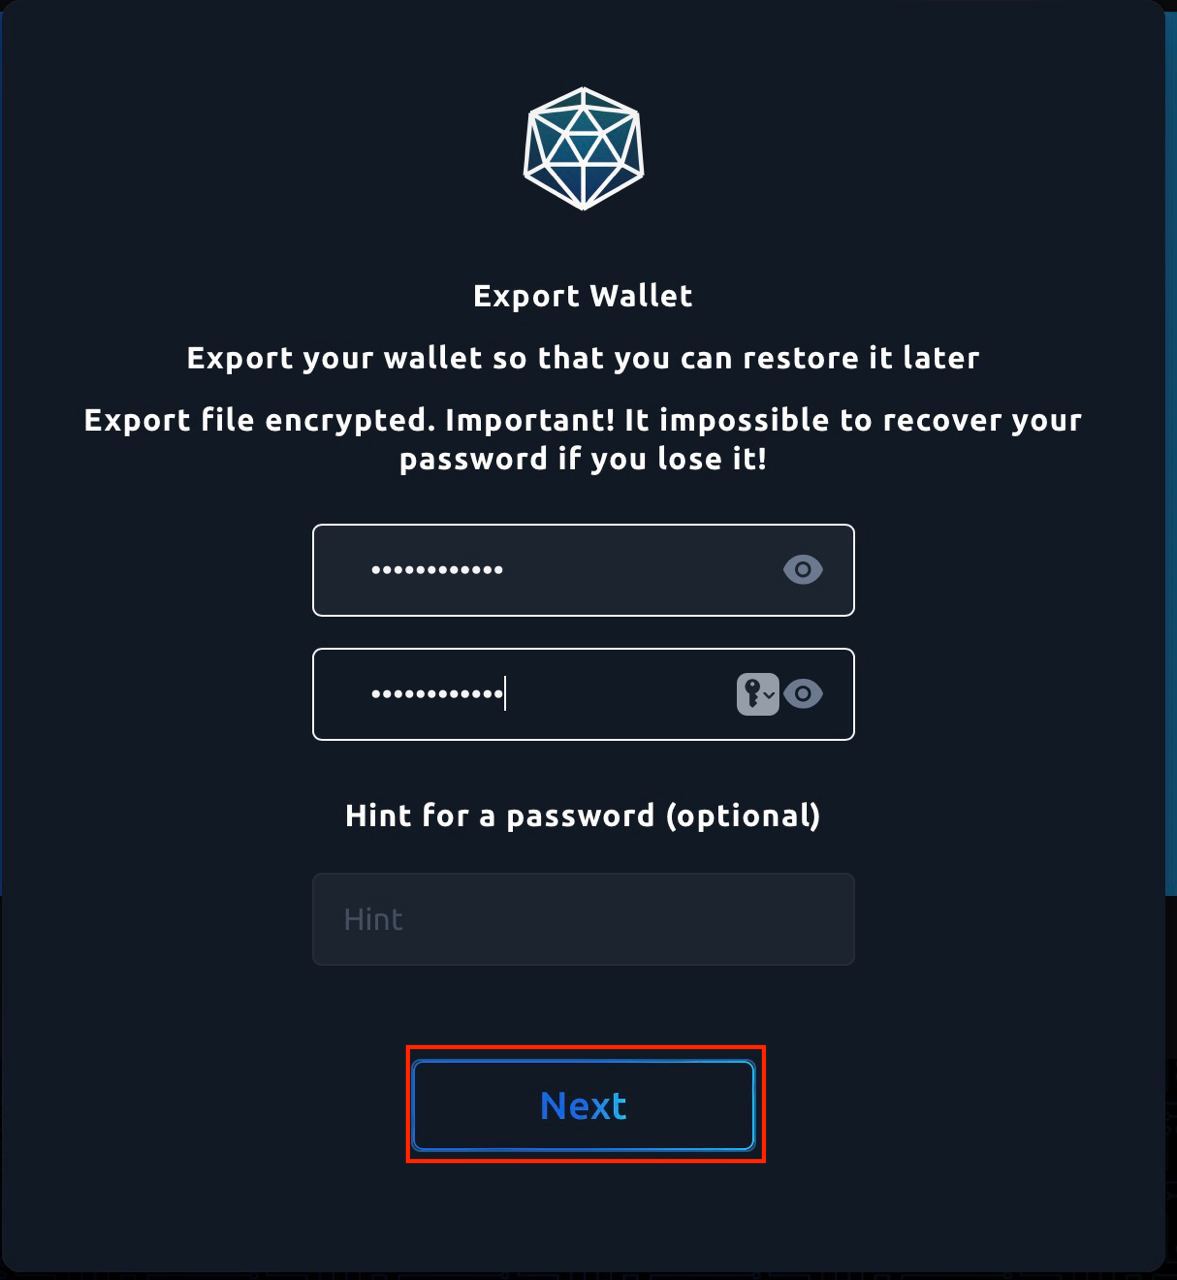
Set the password and click Next.
The
power_wallet.pemfile will be downloaded. You can recover your wallet using this file, password, and seed phrase later in case of emergency.
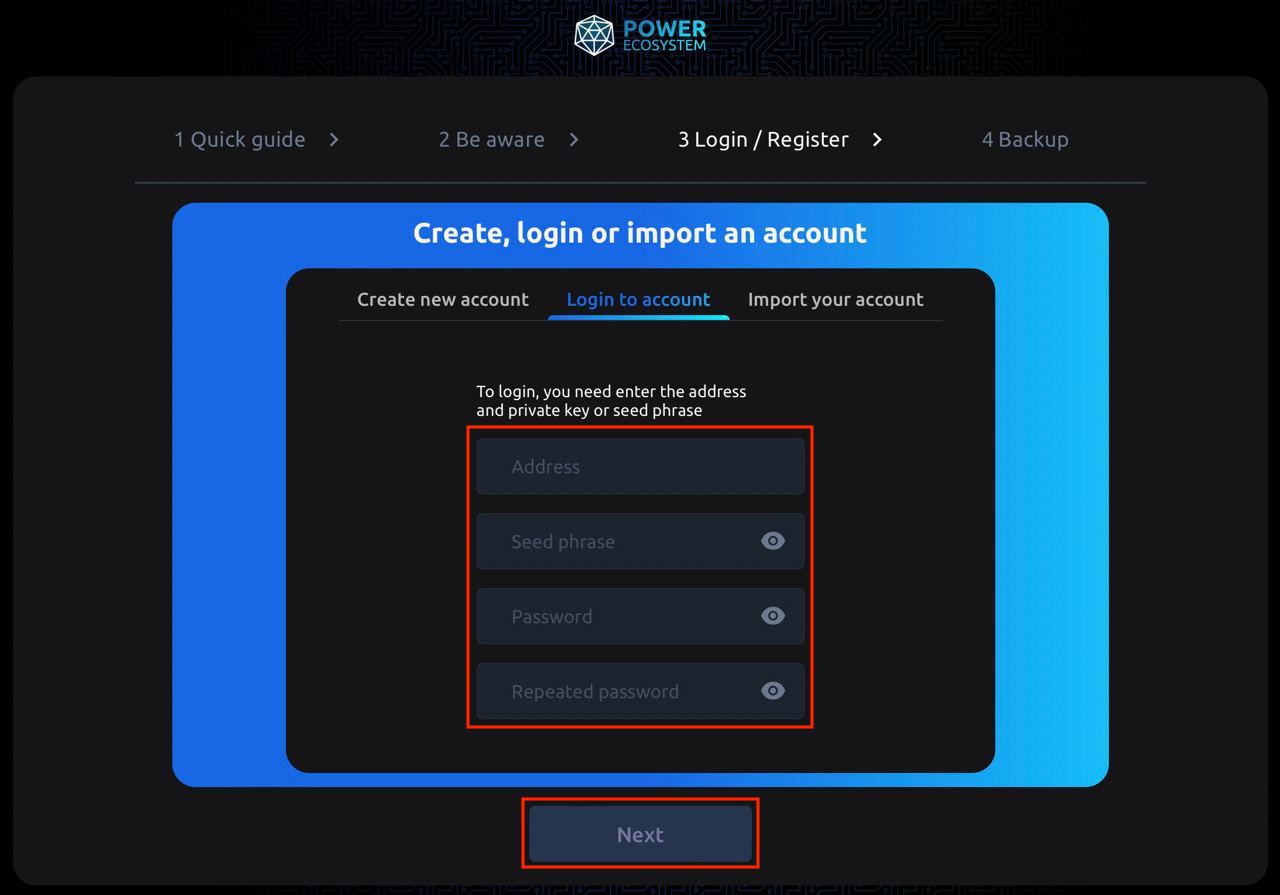
Log into existing account
To log into an existing account enter address, seed phrase, and password, and click Next:
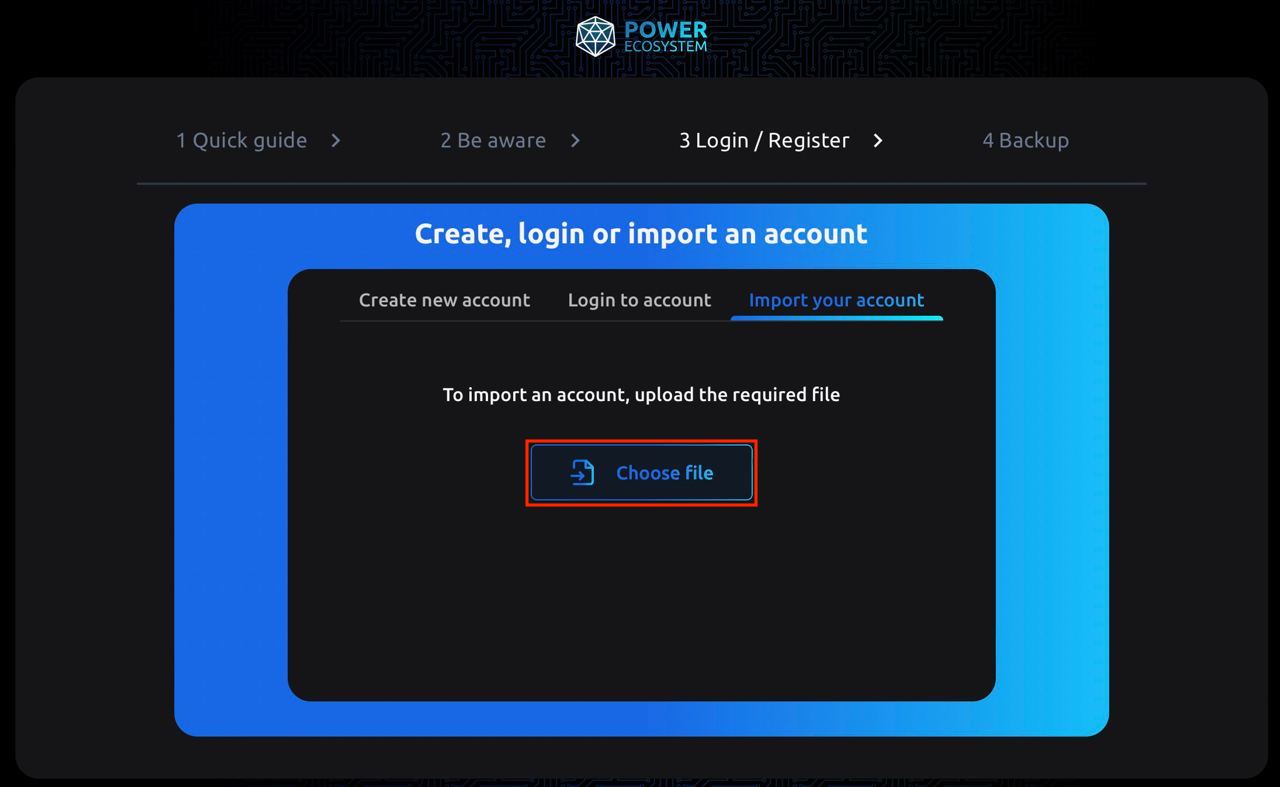
Import your account
To import your account, upload
power_vallet.pemfile from your computer: